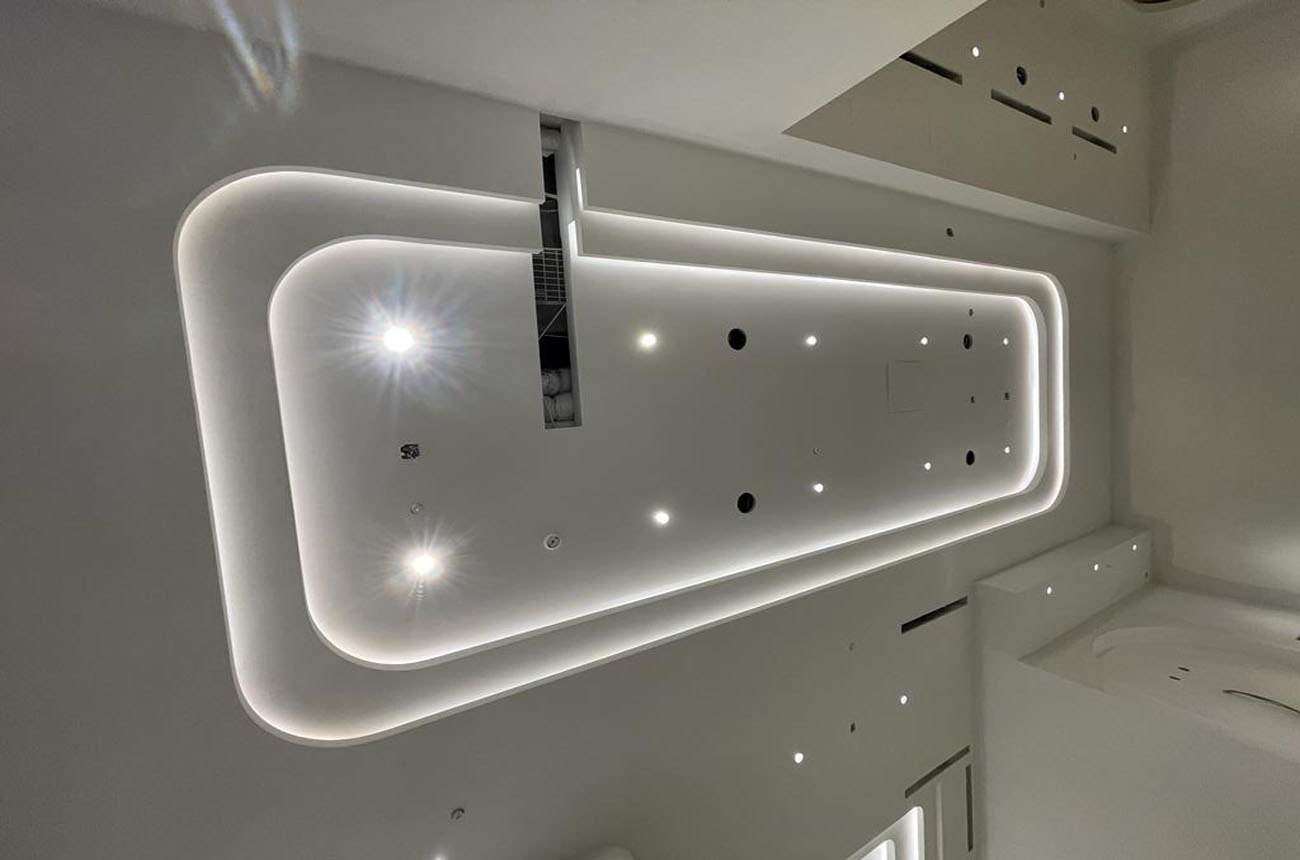
Drywall Mudding and Tape
A Guide to Drywall Mudding and Tape: Tips and Techniques
Drywall mudding and taping is a critical step in any construction or renovation project. It involves applying joint compound and tape to cover the seams between sheets of drywall, creating a smooth and seamless surface. At Blue Nile Construction Ltd, we have extensive experience in drywall installation, including mudding and taping. In this blog, we’ll provide some tips and techniques to help you achieve a professional finish.
Preparing the Surface
Before you begin mudding and taping, it’s important to prepare the surface properly. This includes ensuring that the drywall is properly installed and that any screws or nails are countersunk below the surface. You’ll also want to clean the surface to remove any dust or debris.
Applying the Tape
The first step in mudding and taping is to apply the tape. There are two main types of tape: paper and mesh. Paper tape is more commonly used for flat joints, while mesh tape is used for inside corners and areas with more movement.
To apply the tape, measure the length needed and cut it to size. Then, apply a thin layer of joint compound over the seam, using a 6-inch drywall knife. Press the tape into the compound and smooth it out with the knife, removing any excess compound. Repeat this process for each seam, making sure that the tape is smooth and flat.
Mudding the Joints
Once the tape is in place, it’s time to mud the joints. Start by applying a thin layer of joint compound over the tape, using a 6-inch knife. This is called the “bedding coat”. Make sure that the compound is smooth and even, without any lumps or bumps.
After the bedding coat has dried, it’s time to apply the “fill coat”. This involves applying a thicker layer of joint compound over the bedding coat, using an 8-inch knife. You’ll want to feather the edges of the fill coat, blending it into the surrounding drywall. Repeat this process, sanding between each coat, until the joint is smooth and seamless.
Finishing Touches
Once the joints are mudded and sanded, it’s time to add the finishing touches. This may include texturing the walls, priming, and painting. At Blue Nile Construction Ltd, we can help you with all of these steps, ensuring that your walls look professional and polished.
In conclusion, drywall mudding and taping is a critical step in any construction or renovation project. With the right techniques and tools, you can achieve a smooth and seamless finish that will last for years to come. If you’re interested in learning more about drywall installation or need help with your project, please contact Blue Nile Construction Ltd today. Our team of experts is here to help you achieve your building goals.


